Most people don’t think about their roof until it becomes a problem.
You don’t see it every day. You’re not climbing up there after work. And honestly, it’s not as exciting as remodeling your kitchen. But if your shingles start curling, cracking, or letting water through — suddenly your “someday” project becomes an emergency.
Here’s what we know from experience: the people who ask the right questions early — like “How long do asphalt shingles last?” — are the ones who avoid surprise leaks, avoid stress, and avoid shelling out thousands on last-minute repairs.
If you want to get smart about your roof and make your investment last, this post is for you.
Let’s break it down.
Why Asphalt Shingles Are Everywhere — and Whether They’re Right for You
Asphalt shingles are the most popular roofing material in America. And it’s not even close.
They’re affordable. They’re easy to install. And with the right product and proper installation, they can absolutely stand up to the weather we get here in Wichita.
But let’s be clear: not all asphalt shingles are the same.
That’s why “How long do asphalt shingles last?” isn’t a one-size-fits-all question. The answer depends on the type of shingle, who installs it, and how well you take care of it.
The Real Lifespan of Asphalt Shingles (No Sugarcoating)
Let’s stop pretending that your roof will magically last 30 years just because it says so on the box.
Here’s the real breakdown — what we’ve seen on roofs right here in Wichita:
3-Tab Shingles
Average lifespan: 15–20 years
This is the most basic type of shingle. Flat, lightweight, and affordable. It gets the job done — but don’t expect miracles. Harsh storms, poor ventilation, or bad installation can shave years off that estimate.
Who should use them: Homeowners looking for a budget-friendly solution or selling in the near future.
Our take: If you’re staying in your home long-term, you can do better.
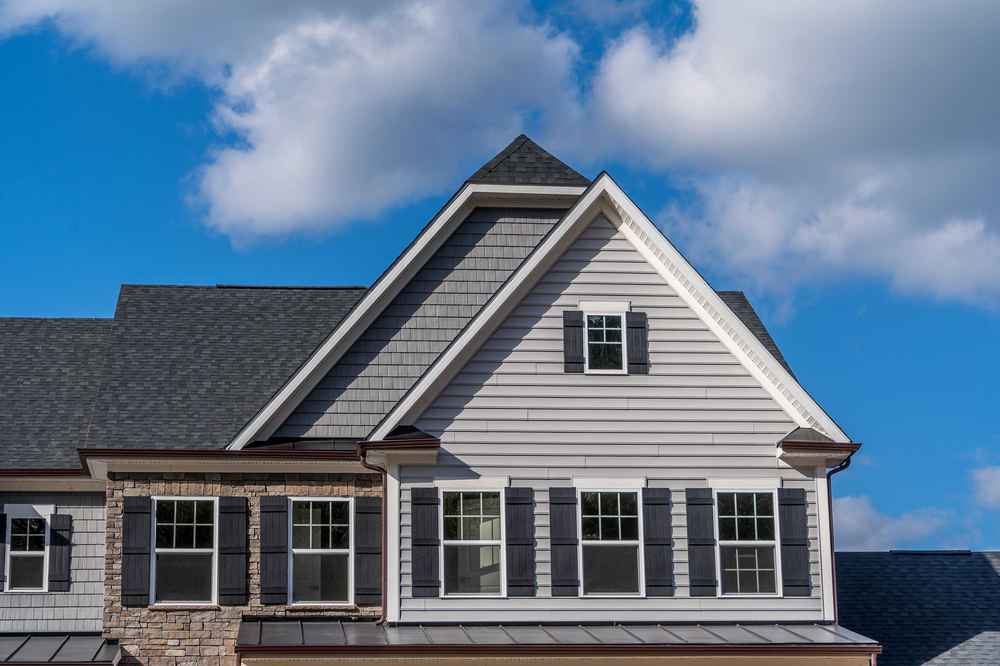
Architectural Shingles
Average lifespan: 25–30 years
These are thicker, more layered, and far more durable than 3-tab. They also look better — more dimensional, with better curb appeal.
Who should use them: Homeowners who want a longer-lasting, reliable roof without jumping into premium pricing.
Our take: This is the go-to for most of our clients — and the best bang for your buck in Wichita.
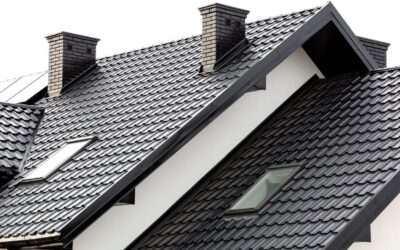
Designer Shingles
Average lifespan: 30–50 years
These mimic high-end materials like slate or cedar shake but are still made from asphalt. Built for durability and aesthetics, they come with premium warranties and serious performance.
Who should use them: Homeowners who want the best and don’t want to think about their roof again for decades.
Our take: If your budget allows, this is a great long-term move.
What Impacts Your Roof’s Lifespan (Spoiler: It’s Not Just the Shingle)
Here’s where most homeowners mess up: they assume the product warranty equals the roof’s actual lifespan.
But a 30-year shingle doesn’t mean you’ll get 30 years out of it — unless the rest of your roof systemRoof Types - A roof system (roof assembly) is the entire series of roofing layers and components above the roof deck that work together to weatherproof the building. More is dialed in.
Let’s talk about what actually matters.
Wichita Weather
We love this city, but let’s call it what it is — unpredictable. Wind, hail, intense sun, snow, freezing temps. All of it impacts your shingles.
If you’re not using impact-rated shingles here, you’re gambling.
Pro tip: Class 4 impact-rated shingles are designed to take a beating. Some insurance companies even offer discounts if you use them.
Ventilation (Yes, Your Attic Affects Your Roof)
Poor ventilation traps heat and moisture in your attic. That cooks your shingles from below and invites mold, rot, and early shingle failure.
Every roof we install includes a ventilation check and balance. Because if your roof can’t breathe, it won’t last.
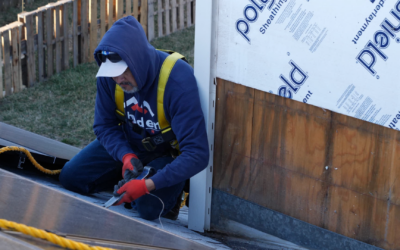
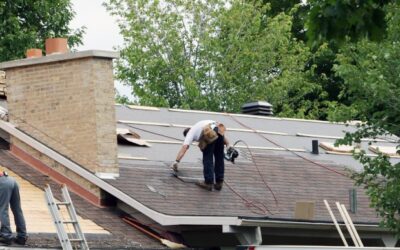
Installation Quality
Let’s be blunt. A bad installation job will kill your roof faster than a hailstorm.
Misaligned shingles, bad flashing, improper nailing — we’ve seen it all. That’s why who installs your roof matters just as much as what it’s made of.
At Rhoden Roofing, we do it right the first time. Our Lifetime Workmanship Warranty backs that up.
Maintenance
Most people wait until their ceiling leaks to think about maintenance. Don’t be like most people.
Smart homeowners do this instead:
- Clean their gutters twice a year
- Clear off debris like leaves or branches
- Inspect their roof after big storms
- Call in a pro if something looks off
A 15-minute inspection today could save you $5,000 next year.
Warning Signs Your Roof is Nearing Retirement
If you’re not sure how old your roof is, look for the red flags:
- Missing, curling, or cracked shingles
- Granules in your gutters
- Discoloration or dark streaks
- Visible sagging
- Water stains in your attic or ceiling
If you’re seeing these, it’s time to get it checked out. A quick inspection might reveal that a simple repair is all you need — or it could save you from an expensive surprise later.
How Rhoden Roofing Helps Extend the Life of Your Roof
We’re not just here to sell you shingles. Our job is to help you make smart decisions that protect your home, save you money, and give you peace of mind.
Here’s what you get when you work with us:
- Honest recommendations (we’ll tell you when you don’t need a new roof)
- Professional installation from certified crews
- Top-tier materials with real warranties
- Ventilation optimization to protect your investment
- A Lifetime Workmanship Warranty — no fine print, no BS
We’ve been roofing Wichita homes for more than a decade. We know the codes, the weather patterns, the insurance headaches — and we know how to build roofs that last.
Bottom Line: How Long Do Asphalt Shingles Last?
Here’s the real answer.
Asphalt shingles can last 15, 30, even 50 years — but it depends on three things:
- The quality of the shingle
- The skill of the installer
- How well you maintain the roof over time
If you’re thinking about a roof replacement, start with a professional assessment. It doesn’t cost you anything — but it can save you a lot.
Let’s find out if your roof has years of life left, or if it’s time to plan for a replacement.
Let’s Talk. No Pressure. Just Answers.
Contact Rhoden Roofing today for a free, no-obligation consultation.
We’ll inspect your roof, walk you through your options, and give you straight advice — not a sales pitch. Whether you need a repair, a full replacement, or just peace of mind, we’ve got you covered.
Because your roof protects your home. Let’s make sure it’s built to last.